Wednesday, March 28, 2012

Cloud Playdough

Our adventures with playdough commence!  Now there are so many recipes out there, from eatable playdough to playdough with coffee, or jello, kool-aid, to just plain old salt play dough.
I decided to start with a very easy recipe I found.  I came to this decision when I realized I didn't have any salt, besides sea salt in the house....and since I didn't want to use our good salt, lol!
I found this easy recipe that didn't include salt!  Since my mom sent it to me, I didn't know where it came from, so google to the rescue and found this website.
http://applesaucekids.com/LinkPage/PlayDoug.html

Cloud Playdough

1 cup of water
1 1/2 cup of vegetable oil
6 cups of flour
Food coloring (optional)
Cookie cutters (optional)
Smock (optional)
Household bowl/ or roasting pan
Container to put Cloud Playdough in. (I used a ziploc bag)

Pour 6 cups of flour into a roasting pan/bowl.

In your water, add a couple of drops of your desired color.

Combine water into flour bowl.

Combine Oil, into water and flour bowl mixture.
Mix well with your hands.
Knead well.


Add more water if necessary, in small amounts until dough is soft and stretchy.  I found I did need a little bit more!
When mixed well and looks like playdough consistency, It's ready!  Let your child know this playdough is not for eating!  They will be tempted!
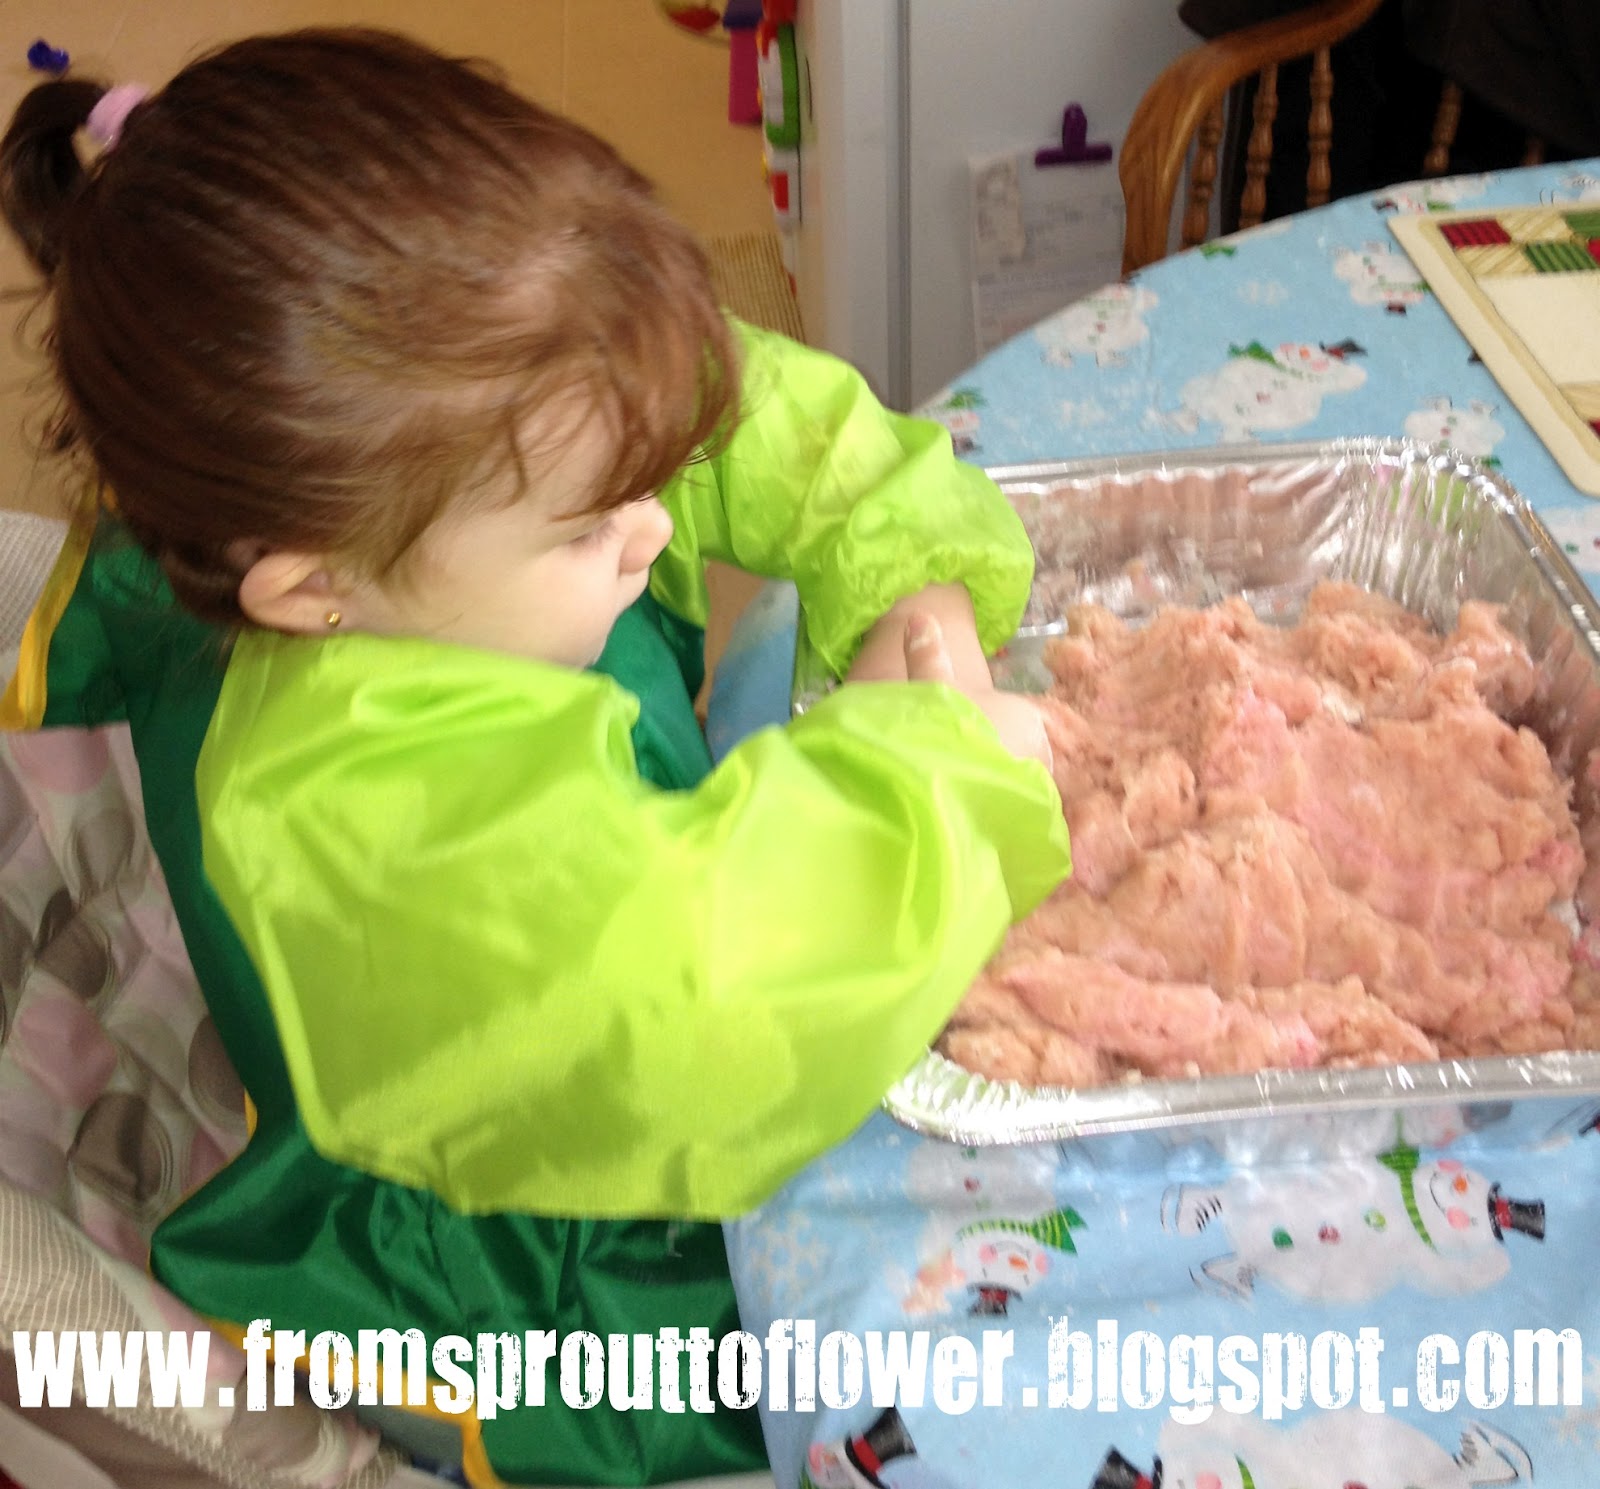
Now it's time to have fun!  Pull out the cookie cutters or if you have child size rolling pins or mallets, you can use them too!  Just let your child use their imagination!  We made flowers and butterflies and meatballs and pancakes!  She loved it!

Cloud playdough should be used on a washable surface for it is very greasy.
I put my Cloud Playdough in a ziploc bag!  After storage, your cloud dough will seperate some  (oil from dough) so before you use it next time just remix quickly in bag or container!

I hope you enjoyed me blog today, this was a wonderful experience for me and my daughter!  Please follow us and come back for our next activity!


Monday, March 26, 2012

Grass Heads


When preparing a project to do with a toddler rule #1 is ALWAYS have a back up plan! lol!  I had planned to do Jello Spring Jigglers but the Jello didn't set in time!  

So, good thing i had project #2 ready!  Grass Heads!  I found this on Pinterest but the credit goes to a Disney website:  http://familyfun.go.com/crafts/plant-pals-672473/
Very easy directions!  I just did it a little different!  Your toddler will love this and its just in time for spring!

Materials
9- or 12-ounce plastic see thru cup (we bought solo cups at walmart)
1 to 1 1/4 cups of potting soil (we bought a small bag at walmart)
1 tablespoon of grass seeds (we bought Bermuda Grass at Lowes)
Wiggly stickable eyes (found at walmart craft section)
Children's planting shovel (or spoon)
Children's watering can/ or cup ($99 at walmart in Easter section)
Household kitchen bowl
Red marker or sharpie pen

Instruction
Fill the bowl with soil to make it easier for your child to scoop out the soil.
Have your child  put the stickable wiggly eyes on cup.  I drew the mouth, and put her name on the bottom of cup (teacher habit, lol!)
Take the bowl and fill it with soil and have your child scoop up the soil with her planters shovel/spoon and fill the cup half way with soil.
Then help your child put in the seeds.  I had her poke her finger in the soil to make a hole while I put in the seeds.
Have your child cover up the seeds with more soil.
Then use a watering can or cup to water the grass heads.
Place by the sunlight! 
Make sure to keep them watered and of course watch them grow!

Just a note:  Have your child wear clothes YOU don't mind them getting dirty, keep in mind they are playing with dirt and water lol!  Also take a deep breath when the dirt gets thrown on the floor!  Keep a broom and pan handy!  And HAVE FUN! :)

Welcome to my blog

from sprout to flower is my blog about my adventures at home with my daughter.  I have a teaching background in preschool and thought it was high time I put it to use at home.  I will try and feature new and old activities the everyday busy mom can do at home with their child(ren).  So stay tuned to future crafts to come!  Please note my daughter is 2 years old so the crafts I choose will go with her age frame as she grows!  Thank you for reading! <3